 |
Start with a square piece of paper. You can get a perfect square from any piece
of paper by folding it in half and cutting off the extras.
of paper by folding it in half and cutting off the extras.
 |
| Add caption |
Fold the square in half to make a triangle.
Fold the triangle in half again to crease it.
Now this is a kind of tricky part. You want to bring the creased/ folded triangle back and open it so you can fold it straight down and you will get a diamond/ square. The next few pictures show that move in a series- sorry its hard to take photos and fold at the same time!
So thats what it should look like when you fold it down.
Flip over and do the same thing on the other side.
Both sides are now folded.
Now you want to make a sort of kite shape by folding one side of the paper to the centre. Notice its only one flap, not both.
Do the same on the other side- The side on the right is a bit crooked but thats OK.
Now flip it over and do the other side- folding towards the centre.
Now at the top theres a little triangle- Bend it forward and backwards to crease it. This is going to help us in our next step.
Open one side of the kite shape. This is the other kinda tricky part. You want to lift from the bottom and bring it up towards our little triangle and fold the outsides in so it makes a long diamond.
 |
| Going up towards our small triangle. |
This is the folding in action.
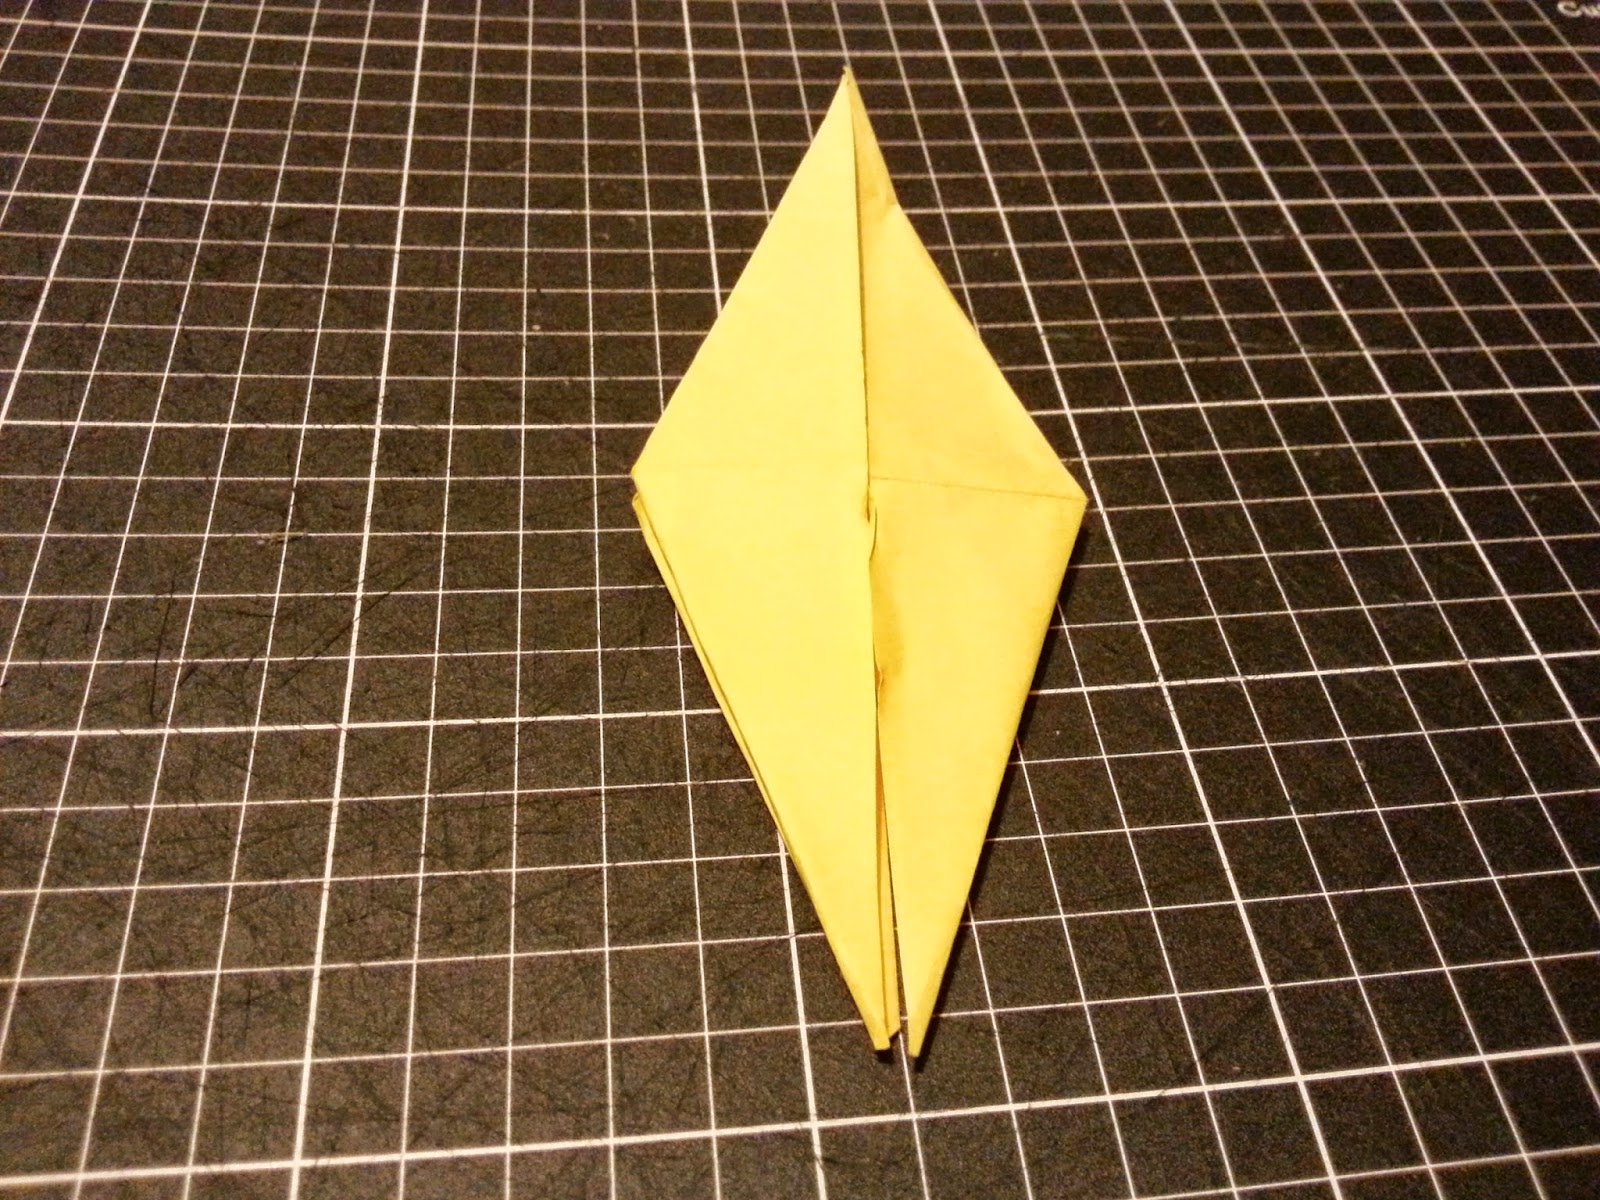
It should look like this long diamond. Now flip over and do the other side the same.
On one side theres a little triangle between the flaps.
You want to fold towards the centre again (Kite) and the little triangle between the flaps will be at the top (Thats the body).
Now you want to pull the flaps up gently sideways to create the head and tail.
This is a side view of the process- pull up and fold to make it stand out.
Now do the same process on the other side.
You can fold down one side to make the birds head and beak.
You can pull out the wings to the sides and this will puff out the body.
Use and paper you can find and try this out.
This is my collection so far for my thousand cranes but Ive decided that the big ones are too big and the little ones look better.
TO MAKE A ORIGAMI CRAIN CHAIN:
You need- needle, thread, cranes
Put your thread through the needle eye and tie your thread together at its ends. It doesn't matter what colour the thread is so use whatever random colour is sitting in your cupboard. Put the needle through the bottom of a crane and carefully pull the needle through the body and stack your cranes on top of each other. I find mine looks better without spreading the wings. Some people like to put beads between the cranes but you don't have to! Have fun! I hope you can share your cranes with me.


